DTF Magic Printer Pro 30
1. Installation
1.1 Unboxing
Your DTF Magic Printer Pro 30 will arrive in big box on a pallet.
Carefully open the box en remove all content and unpack everything and put the content on a table so it’s clear what in side.
The box contains your:
- DTF Magic Printer Pro 30
- Roll feeder (optional)
- Front Plate
- Black Box
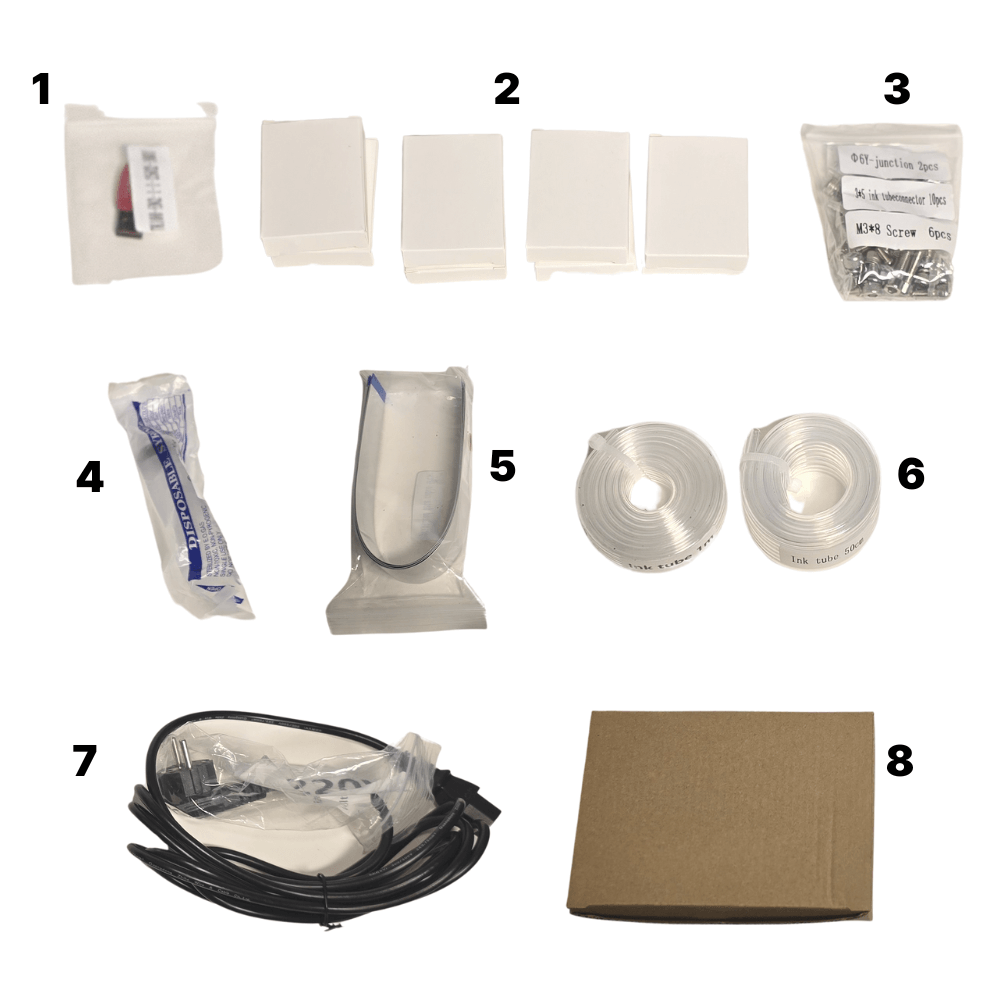
1. Print Exp software
2. 8 Dampers (2 spares
3. Spare srews
4. Syringe
5. FFC Cables
6. Set of ink lines
7. Power cable
8. Print head
Note
- Visually check printhead on damage.
- Be careful not to touch the print head surface as it’s very fragile.
- Place the print head back in the cover till it’s needed for installation.
1.2 Prepare printer
Install FFC cable on printhead use tape to make it waterproof
Take two of the FFC Cable and follow the instructions in the movie below
Pre printer for installation:
Note: printer must not be connected to power.
- Remove plastic on rails
- Remove transport block
- Remove head cover (lay Plain paper under need to not loose screws)
- Remove plastics bag and cable ties around the ink lines
- Check ink lines on dents
- Remove cable ties around waste line and data cable
- Install waste ink tank
- Shake inks for 2 min and let rest for 10 min
- Check Dampers if they function.
Install printhead with 4 screws on the print head carrier.
Make sure this is done straight ( start with diagonal Screw)
Note: Wait to put the FFC in the print board till the CMYK dampers are in so you can bent the cables in right position.
Install dampers on the ink lines
Note: Be careful don’t touch the dampers on the side you might damage them!
Check the ink lines are free and not to long and check if the clams are in place and do not block the ink lines.
1.3 Install Ink
You start with the CMYK channels before filling the white channels.
Do not do it the other way as for the White channels the white circulations system must be filled before you can fill the White Channel.
CMYK ink
Insert ink in the tanks at the back of printer.
Note: When inks are used for the first time they must be firmly shacked for 2 minutes then rest for 10 minutes for the air bubbles to settle.
After the tanks are filled load ink in the CMYK channels with using the Syringe on the exit of the damper.
Note: Make sure you work clean and you clean the Syringe in between the colours.
The damper must face up wards to fully fill the ink lines and dampers if doing otherwise there will be air trapped in the system. When ink is loaded in the dampers check for leakage and clean the exit before lock the damper in to the printhead.
Note: The printer is still not connected to the power grid.
Put White ink dampers in carriage but do not lock on printhead, move the print head on the capping station. Make sure the loose white dampers are free and don’t hit the printer housing.
White Ink
After filling CMYK ink we now will fill the White ink.
Put power plug in an switch on printer. Let the printer fill the white ink circulation system.
When filled switch off printer and move the print head to center and fill the two white ink dampers with the Syringe.
Note: Make sure the damper is facing up wards to fully fill the ink lines and dampers
When loaded check for leakage and clean the exit before lock it into the printhead.
Move the printhead carrier to the capping station and switch printer back on and run 2 cleanings.
After that check the following:
Enough ink in Tanks
Check for air bubbles in the ink lines.
Note: If so use Syringe and follow the instructions again to remove trapped air.
Run Head cleaning and Nozzle check to see if all function.
When all nozzles are functioning your printer is ready.
1.4 Install Print Exp & DTF Magic Software Lite
Print EXP
Your PrintExp is your print utility from here you can control your printer settings.
If needed you can adjust the following settings.
- Check whipper distance
- Check alinement print head
- Check white ink registration
- Nozzle check
- Cleanings
Insert the Dongle (1) in a free USB slot.
Note: Software must run on Windows 10 or 11 with an Internet connection.
Run the PrintExp zip file on your PC and follow the instructions.
DTF Magic Software Lite
Your DTF Magic Software Lite is a so called RIP software.
DTF Magic Software Lite translate your artwork into a file the printer understands.
The software has the following options:
- Sizing
- Multi copies
- Nesting
- Color profiling
- Print cost calculation
- Job history
- Rasterizing
- Set your white Choke
- Black removal
- Printer management
You can use the following file types:
- Bitmap (.bmp)
- GIF (.gif)
- JPEG (.jpg;.jpeg
- Portable Network Graphic (.png)
- TIFF (tif;.tiff)
- Adobe PhotoShop (.psd)
- SVG (.svg)
- PostScript (.ps;.tmp)
- Encapsulated PostScript (.eps)
- Adobe Illustrator (.ai)
- Portable Document Format (.pdf)
- Archive jobs (.jbk)
Follow the instructions
For more detailed information please check out 4. Software
2. Maintenance
Place the DTF Magic Printer Pro 30 in a dust free environment with enough ventilation but not too much draft. Please be aware the best working environment is a room temperature between 18°C and 25°C and a relative humidity from 35 till 60%. The DTF Magic Printer Pro 30 must be place on a stable table or surface to avoid the printer to move when printing.
2.1 Daily Maintenance
When your printer is up and running you need to apply maintenance.
It’s from the most important that you full fill your maintenance on a daily bases.
This is to make sure your prints come out without any trouble.
We can only support DTF Magic Printer Pro 30 if you are using our consumables.
- DTF Magic Film
- DTF Ink Low Sediment
- DTF Maintenance Kit
- DTF Powder Premium
- DTF Station Phoenix Air Curing Oven
Your daily Maintenance will contain:
- How to clean your printhead with the cleaning kit
- How to clean the capping station and whipper
- Wet cap explained
- Keep printer clean
Empty waist tank
Dispose waist ink and clean the waist tank place back.
Fill ink tanks
Switch off alarm, Shake ink bottle poor ink in tanks. Switch Alarm back on.
2.2 Consumables Replacement
With time and usage of DTF Magic Printer Pro 30 there are consumable parts that need to be replaced. We can only support you if you are using our replacements.
- Capping station and whipper replacement
When used in normal circumstance they have a life time of 3 till 6 months.
- Printhead Replacement
Note: When replacing the head also replace the capping and dampers to avoid damaging your new print head.
- Waist pomp Replacement
When used in normal circumstance they have a life time of 6 till 12 months.
- Damper
When used in normal circumstance they have a life time of 3 months
Note: The dampers are fragile do not touch the sides.
- Ink Filter (Butterfly Filter)
When used in normal circumstance they have a life time 3 till 6 months
3. Troubleshoot
Unfortunately there is always a change on printing issues as ink jet is a sensitive printing system.
Meaning if your print does not come out the way you would expect please check the following.
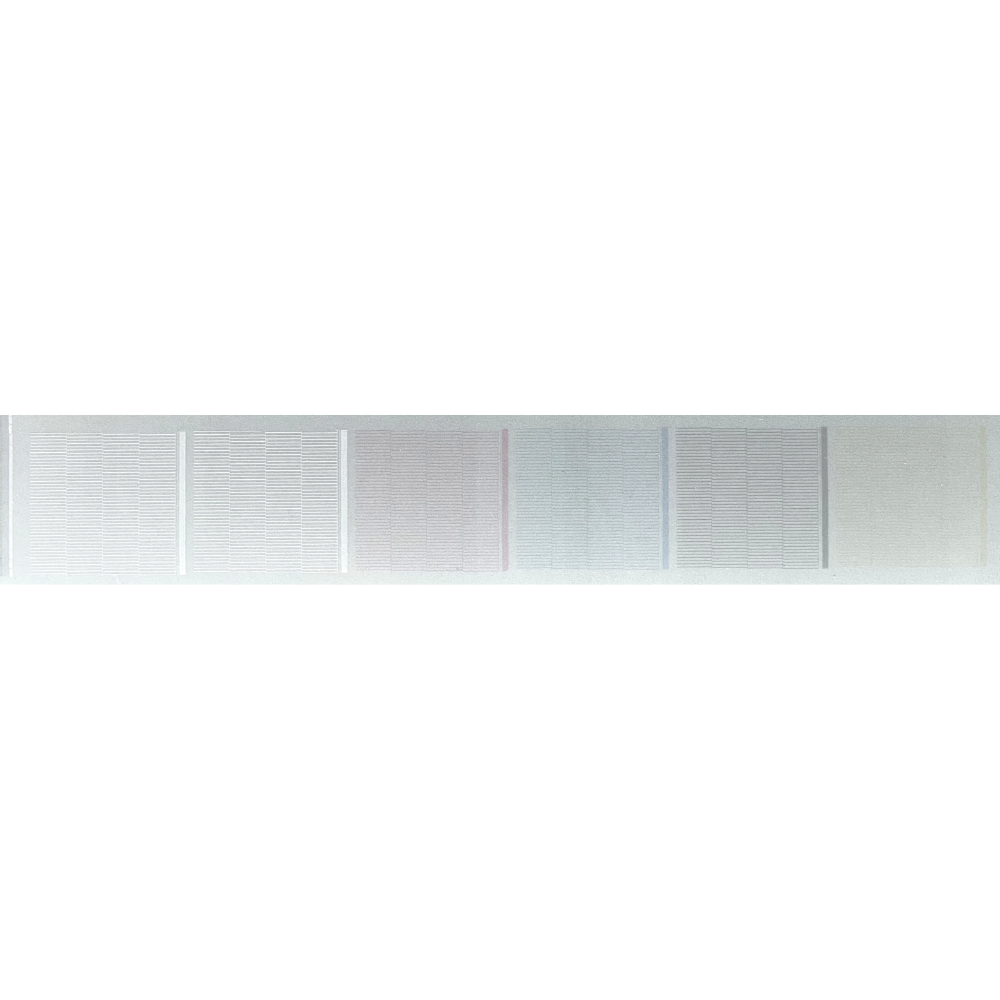
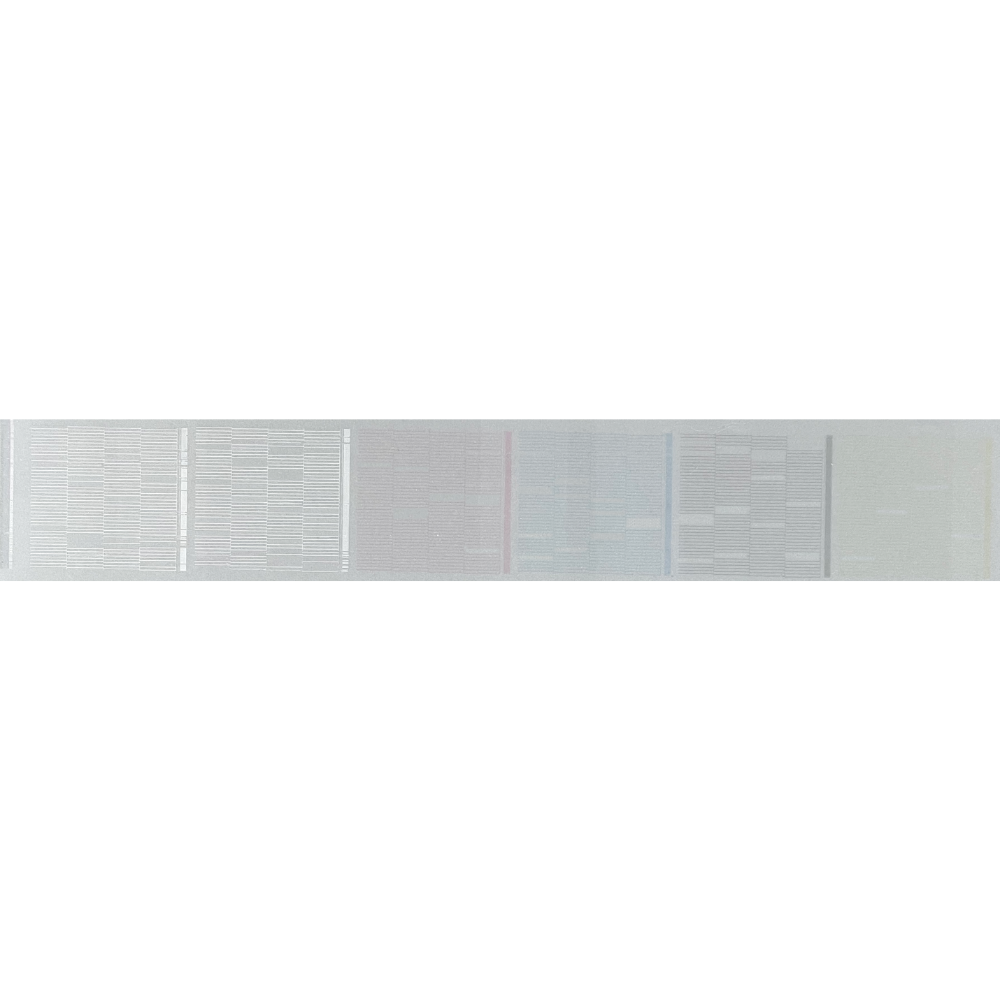
3.1 Nozzles
Bad nozzles
When lines are showing in your image it means you’re missing nozzles.
In your Print Exp you can click on Check, the printer will print a pattern.
Note: Make sure there is DTF film inside the printer and use a dark background to check you white channels
There are some actions you can take to make it better.
- Clean whipper and capping station and do a strong cleaning
- Check for air bubbles in the ink lines
- Wet cap
- Soak towel and clean head
- Check the vacuum of the capping station including waist ink lines
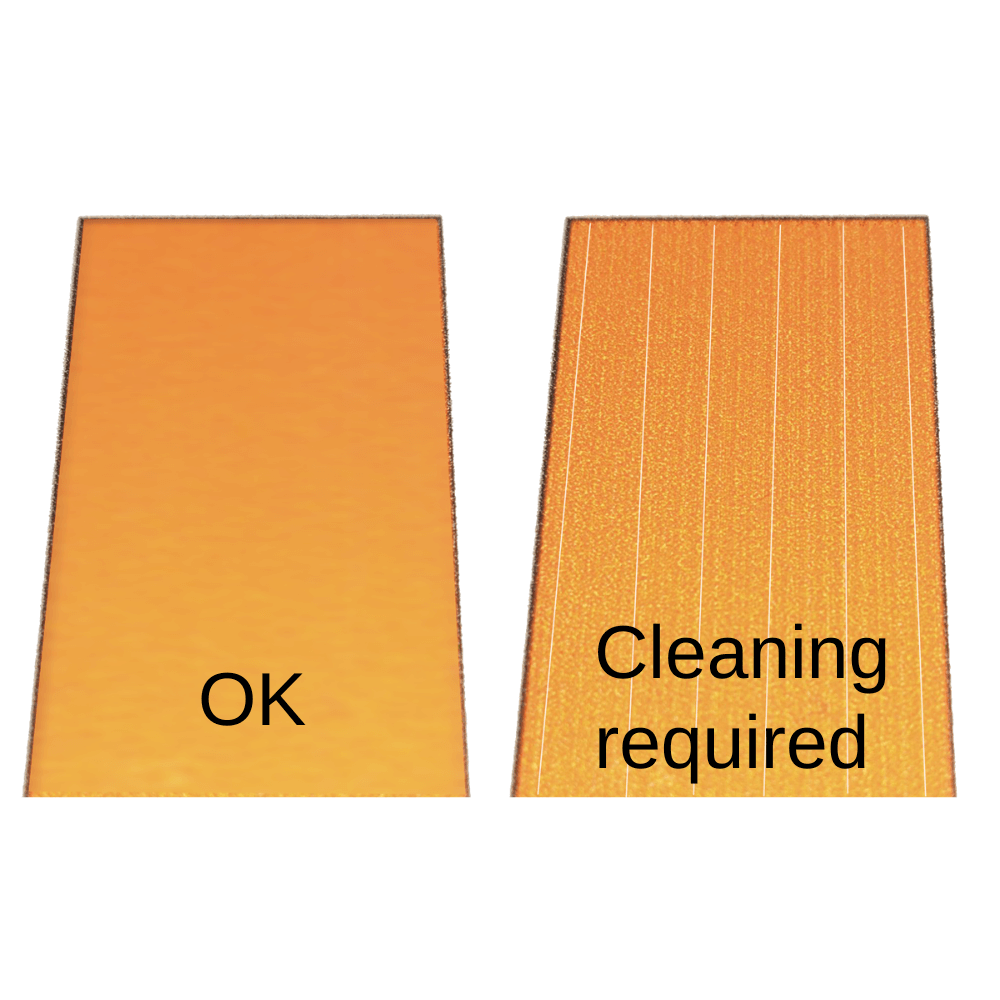
3.2 Colors
- Check if the correct color profile is used in DTF Magic Software Lite.
- Check nozzles
- Check is ink lines are clean no contamination in the ink lines or dampers
If so run a couple of strong cleaning cycle in PrintExp.
Or make a file with Colored squares to clean channels
(Picture) Test print
Lines
- Check nozzles
- Check for air trapped in lines
- Capping station position
White registration
- Check nozzles
- Check registration of the print head (4. Software, Print Exp, Adjust)
4. Software
To use the printer you need two pieces of software DTF Magic Software Lite and PrintExp.
Those two programs give you control over your DTF Magic Printer Pro 30, print jobs and artwork.
To get the most out of the DTF Magic Printer Pro 30 we recommend to follow the tutorials.
4.1 DTF Magic software Lite
This your RIP software and translates the artwork into a printable file.
We will show you the following items:
- Sizing
- Multi copies
- Nesting
- Color profiling
- Print cost calculation
- Job history
- Rasterizing
- Set your white Choke
- Black removal
- Printer management
- Import file/File types
- Explain ques
- Page settings
- Create .prn file
4.2 Print Exp
This your printer utility for the DTF Magic Printer Pro.
From here you do you cleaning and maintenance and controlling the setup of you printer.
We will show you the following items:
File: File explorer
- Print Job List
- Job history list
Setting
- Margin Setting
- ColorBar Setting
Adjust
- Head Install
- Nozzer Check
- Vertical Check
- LefttRight tilt
- Front-Rear tilt
- Step Adjust
- HeadSpace (greyout)
- Color Adjust
- Bidirec Adjust
- Close Channel (do not touch)
Voltage
Here you can follow the power consumption of the printer
Advance
Used for factory and maintenance.
5. Warranty
To ensure the optimal performance and longevity of your DTF printer, the following warranty and support conditions apply:
5.1 Warranty & Technical Support
We only provide warranty and technical support for this DTF printer if all of the following conditions are met:
A. Use of Original Consumables
The following consumables must be purchased exclusively through us:
- DTF Ink
- Cleaning solution
- DTF film
- DTF Powder
B. No Warranty or Support When Using Third-Party Products
Using consumables (such as ink, film, or cleaning fluids) from third parties may cause damage or malfunctions. In such cases, the following will immediately be void:
Any form of warranty on the printer or its components
Right to technical support or replacement
5. 2 Registration & Maintenance
The printer must be properly registered. Periodic maintenance, as advised by us, must be carried out in a timely and proper manner.
Why these conditions?
DTF printers are sensitive systems where the quality of consumables has a direct impact on performance and durability. By exclusively using our carefully selected and tested products, we can:
- Ensure consistent and reliable printer performance
- Provide effective support and warranty service when needed
- For questions or to order original consumables, please feel free to contact us.
5.3 Conditions
DTF printers are sensitive systems where the quality of consumables has a direct impact on performance and durability. By exclusively using our carefully selected and tested products, we can:
- Ensure consistent and reliable printer performance
- Provide effective support and warranty service when needed
- For questions or to order original consumables, please feel free to contact us.